
Introduction
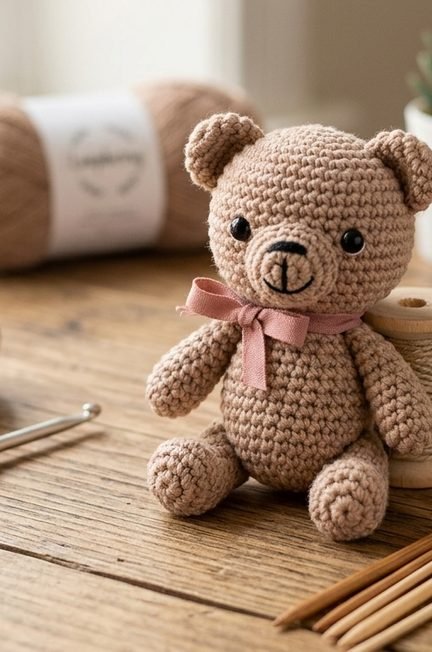
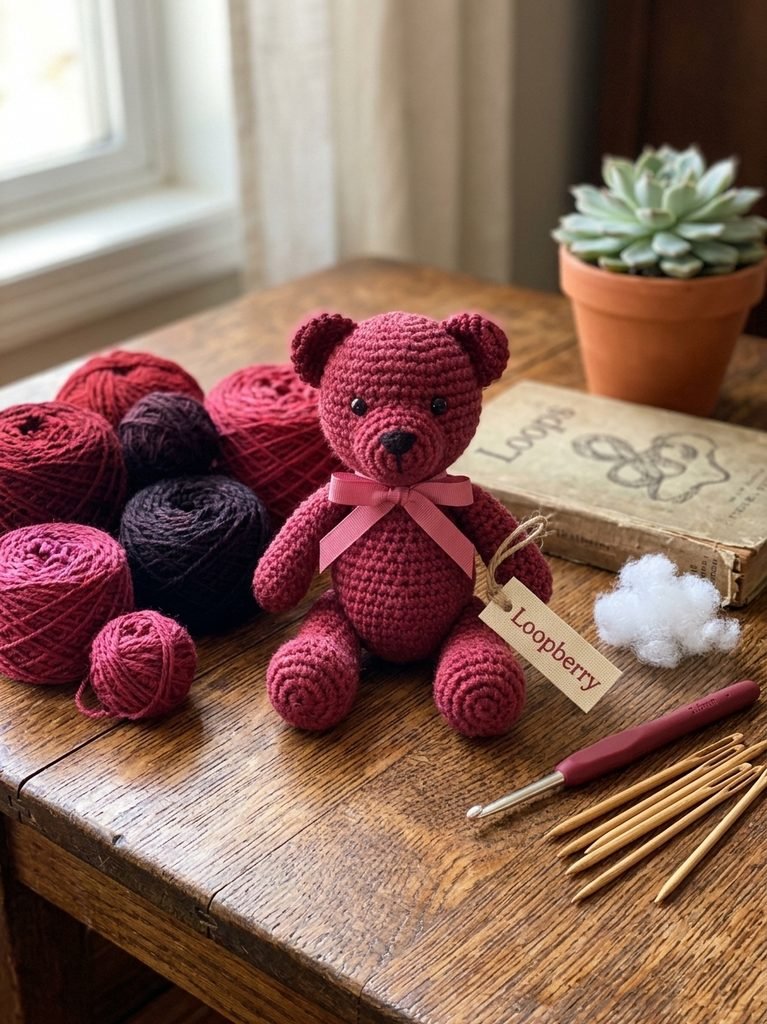
Tiny crochet animals have a special charm, and a mini teddy bear is one of the sweetest amigurumi projects to make. With its round head, little ears, and soft body, this adorable bear can become a handmade gift, a cute shelf decoration, or a lovely addition to your crochet collection.
If you’re new to amigurumi, a small teddy bear is a great opportunity to practice working in the round, increasing, decreasing, and sewing separate pieces together.
In this guide, you’ll discover the materials you’ll need, the basic construction process, and creative ways to personalize your little bear.
Why Crochet a Mini Teddy Bear?
A mini teddy bear is a fun project for several reasons:
- Cute and giftable: A handmade bear makes a thoughtful present.
- Beginner-friendly: Simple designs use basic amigurumi techniques.
- Small and portable: You can work on the pieces almost anywhere.
- Customizable: Change the colors, facial expression, and accessories.
- Great for selling: Finished mini bears can be part of a handmade toy collection.
Materials You’ll Need
Gather these supplies before you start:
- Yarn: Choose a smooth cotton or acrylic yarn in your preferred color.
- Crochet hook: Use a hook suitable for your yarn, usually smaller than the label’s suggested size to help create a firm fabric.
- Stuffing: Use clean polyester fiberfill made for soft toys.
- Yarn needle: For sewing the pieces together.
- Stitch marker: Essential for tracking the beginning of each round.
- Scissors: For trimming yarn.
- Black embroidery thread: For stitching the eyes and nose.
- Optional contrasting yarn: For a small muzzle, belly, or decorative details.
For a baby-safe toy, use embroidered facial features rather than plastic safety eyes or other detachable parts.
Understanding Amigurumi Basics
Amigurumi is the Japanese-inspired craft of crocheting or knitting small stuffed toys.
Most mini teddy bears are made using a few basic techniques:
- Magic ring: Creates a closed starting circle.
- Single crochet: The main stitch used in many amigurumi patterns.
- Increase: Adds stitches to make a piece wider.
- Invisible decrease: Reduces stitches while creating a neat finish.
- Working in continuous rounds: Allows you to crochet without joining every round.
If you’re unfamiliar with these techniques, practice them before starting your teddy bear.
How to Crochet a Mini Teddy Bear
A typical mini teddy bear consists of a head, body, two ears, two arms, and two legs. Some patterns combine the head and body into one piece.
The following steps explain the construction process. Exact stitch counts and shaping instructions depend on the chosen tested pattern.
Step 1: Crochet the Head
Start with a magic ring and work in continuous rounds.
Use increases to create a rounded shape, then work several even rounds to build the height. Decreases gradually close the shape.
Add stuffing before the opening becomes too small, making sure the head is firm but not overfilled.
Step 2: Make the Body
The body is usually smaller than the head.
Begin with a magic ring, increase to the desired width, and crochet several rounds to create the body shape.
Stuff it gently before closing. Leave a suitable yarn tail if the body will be sewn to the head.
Step 3: Crochet the Ears
Make two small rounded ears.
Keep them similar in size and shape. You can use the same yarn as the head or choose a contrasting shade for an extra-cute appearance.
Step 4: Make the Arms and Legs
Crochet two arms and two legs using small rounded or cylindrical shapes.
Add a little stuffing if your design requires it. Leave enough yarn at the ends to attach each piece securely.
Step 5: Assemble the Teddy Bear
Position the head and body, then sew them together.
Attach the ears symmetrically and position the arms and legs so that the bear can sit naturally.
Take your time with placement. Small adjustments can make a big difference to the finished expression.
Step 6: Add the Face
Use embroidery thread to create the eyes, nose, and mouth.
A simple embroidered face can give your bear a gentle, friendly expression.
For toys intended for babies or young children, avoid plastic eyes, beads, buttons, and any other small pieces that could detach.
Step 7: Finish Your Bear
Check all seams and weave in loose ends.
Gently shape the head, body, and limbs with your fingers. Make sure the stuffing is evenly distributed and that no pieces can easily come loose.
5 Cute Mini Teddy Bear Design Ideas
Once you understand the basic construction, you can create different versions of your bear.
1. Classic Brown Teddy Bear
<AsyncImage query=”small handmade crochet amigurumi classic brown teddy bear toy” aspectRatio=”5:4″ width=”100%”/>
A traditional brown teddy bear with a cream muzzle is a timeless design. It works beautifully as a handmade gift or a small collectible.
2. Mini Cream Teddy Bear
<AsyncImage query=”tiny cream beige crochet amigurumi teddy bear handmade plush” aspectRatio=”5:4″ width=”100%”/>
Soft cream or beige yarn gives your bear a gentle minimalist look. Add a small embroidered nose for a simple finish.
3. Pastel Pink Teddy Bear
<AsyncImage query=”pastel pink mini crochet teddy bear amigurumi handmade” aspectRatio=”5:4″ width=”100%”/>
Pastel pink creates a sweet and playful look. You can also try lavender, peach, or mint green.
4. Teddy Bear with a Tiny Sweater
<AsyncImage query=”crochet mini teddy bear amigurumi wearing tiny handmade sweater” aspectRatio=”5:4″ width=”100%”/>
A miniature sweater adds personality and makes the bear feel extra special. Choose a contrasting color for the clothing.
5. Mini Teddy Bear Keychain
<AsyncImage query=”mini crochet teddy bear amigurumi keychain handmade small bear” aspectRatio=”5:4″ width=”100%”/>
A smaller bear can be turned into a decorative keychain for older children or adults. Use a securely attached keychain fitting and avoid presenting it as a toy for babies.
Choosing the Best Colors
Color is one of the easiest ways to personalize your teddy bear.
| Style | Color ideas |
|---|---|
| Classic | Chocolate brown, caramel, cream |
| Minimalist | Beige, oatmeal, ivory |
| Pastel | Pink, lavender, mint |
| Cute and playful | Peach, yellow, sky blue |
| Modern | Sage green, dusty rose, taupe |
You can also use a contrasting color for the muzzle, paws, or belly.
Tips for a Better Amigurumi Teddy Bear
These small details can help your finished bear look more polished:
- Use a smaller hook: This helps create tight stitches and reduce visible stuffing.
- Count your stitches: Keep track of every round to avoid changing the shape accidentally.
- Use a stitch marker: Move it at the beginning of each round.
- Stuff gradually: Add small amounts of fiberfill to avoid lumps.
- Keep pieces symmetrical: Compare both ears, arms, and legs before attaching them.
- Sew securely: Reinforce the joins, especially if the toy is intended for children.
- Embroider facial features: This avoids detachable plastic parts.
Frequently Asked Questions
Is a mini crochet teddy bear suitable for beginners?
Yes. A simple design is a good introduction to amigurumi. It helps you practice working in continuous rounds, increases, decreases, stuffing, and sewing.
What yarn is best for a crochet teddy bear?
Smooth cotton or acrylic yarn is a popular choice. Cotton provides clear stitch definition, while soft acrylic yarn can create a cuddly appearance.
How much yarn do I need?
A mini teddy bear generally uses a small amount of yarn, but the exact quantity depends on its size, yarn weight, and design.
Why can I see stuffing through my stitches?
Your stitches may be too loose, or your hook may be too large. Try a smaller hook and maintain consistent tension.
Can I sell handmade crochet teddy bears?
Yes. You can sell finished handmade bears through your website, craft marketplaces, or local shops. Include your material costs, working time, packaging, and selling fees when setting your price.
Can I make a teddy bear for a baby?
Only if the toy is designed and tested for the intended age group and meets applicable toy-safety requirements. Use embroidered features, secure all seams, and avoid detachable accessories. Never assume that a handmade toy is safe for infants simply because it is made from soft yarn.
Final Thoughts
A mini crochet teddy bear is a charming project that lets you practice essential amigurumi skills while creating something adorable.
Start with a simple design, choose your favorite yarn colors, and take your time assembling the pieces. Once you’ve made your first bear, you can experiment with different expressions, outfits, and sizes.
Want to make more adorable crochet toys? Explore the amigurumi PDF patterns and handmade inspiration at Loopberry.
Loopberry – Little Loops, Endless Creativity.
Pattern accuracy note: This article is an introductory project guide, not a complete tested stitch-by-stitch pattern. Before publishing it as a free pattern or selling a PDF, add exact round-by-round stitch counts, yarn weight, hook size, finished dimensions, stuffing quantity, and assembly instructions. Test the pattern and include appropriate toy-safety information for the intended age group.