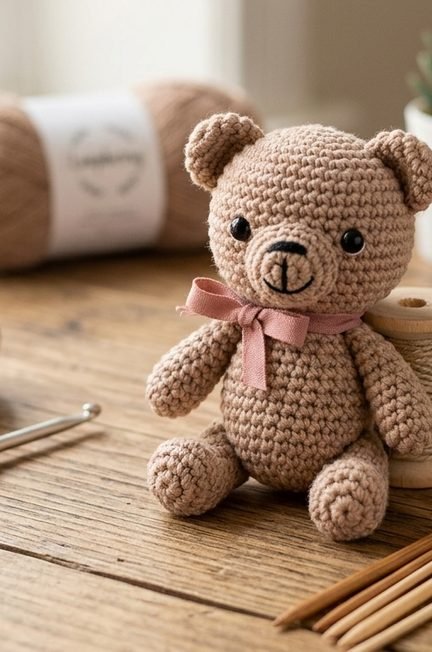
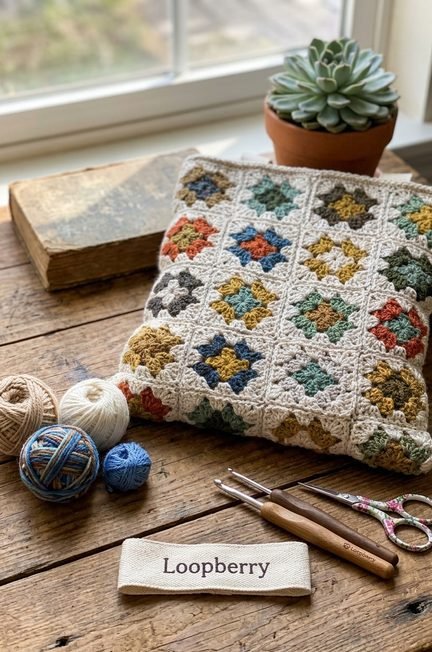
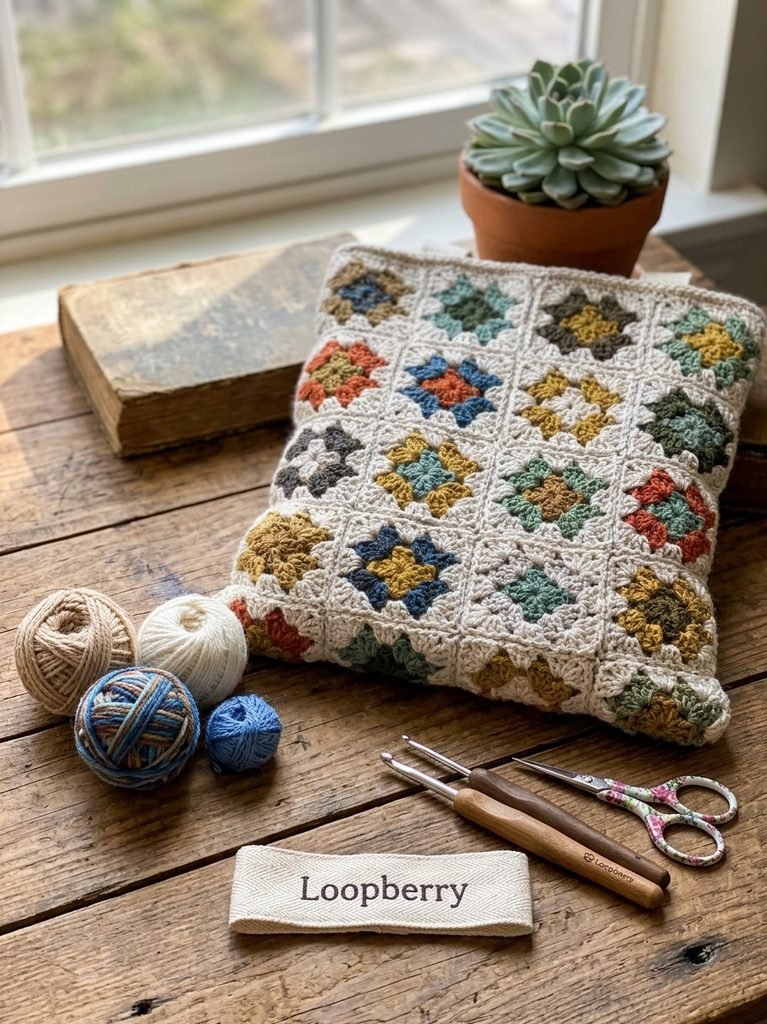
Have you ever seen a beautiful handmade crochet bag and thought about making one yourself? A granny square tote bag is a perfect project to start with!
Granny square bags have become a favorite among crochet lovers because they combine traditional crochet techniques with modern fashion. They are colorful, creative and practical enough to carry your everyday essentials.
The best part? You can customize your bag with your favorite colors, choose different granny square designs and create something that matches your personal style.
In this tutorial, we’ll explore how to make a beautiful granny square tote bag, from choosing your yarn to joining the squares and adding the handles.
Whether you’re a beginner or already enjoy crocheting, this project is a wonderful way to create a handmade accessory you’ll love using.
Why You’ll Love This Granny Square Tote Bag
There are so many reasons to make your own crochet tote bag.
- Beginner-friendly: Granny squares are a great way to practice basic crochet stitches.
- Customizable: Choose colors that match your wardrobe.
- Practical: Use your finished bag for shopping, books or everyday essentials.
- Budget-friendly: You don’t need a large amount of yarn to get started.
- Beautiful handmade gift: A crochet tote bag makes a thoughtful present for friends and family.
You can make a colorful summer bag, a neutral everyday tote or a vintage-inspired accessory.
Materials You’ll Need
Before starting, gather the following materials:
| Material | Purpose |
|---|---|
| Cotton yarn | Main material for the bag |
| Crochet hook | Suitable for your yarn |
| Scissors | Cutting yarn |
| Yarn needle | Weaving in loose ends |
| Stitch markers | Keeping track of stitches |
| Measuring tape | Checking dimensions |
| Fabric lining (optional) | Adding structure |
| Bag handles (optional) | Alternative to crochet straps |
What Is the Best Yarn for a Crochet Tote Bag?
Cotton yarn is one of the best choices for a granny square tote bag.
It offers several advantages:
- Good stitch definition.
- A firm and attractive appearance.
- A wide range of colors.
- Easy customization.
- Suitable durability for everyday accessories.
You can also use cotton-blend yarn, provided it has enough structure for your project.
My tip: Avoid very stretchy yarn if you want your bag to maintain its shape when carrying everyday items.
Crochet Abbreviations You’ll Need
Most traditional granny square patterns use these US crochet terms:
| Abbreviation | Meaning |
|---|---|
| ch | Chain |
| sl st | Slip stitch |
| sc | Single crochet |
| dc | Double crochet |
| st | Stitch |
| sp | Space |
| rnd | Round |
| rep | Repeat |
If you’re following a pattern written in UK terminology, remember that stitch names can differ.
Step 1: Choose Your Granny Square Colors
The first exciting part of making your tote bag is choosing your colors!
You can use a single color for every square or create a different combination for each one.
Here are some beautiful color ideas:
Neutral Granny Square Bag
Choose cream, beige, brown and white for a simple, elegant look.
Pastel Granny Square Bag
Combine soft pink, lavender, baby blue and cream for a feminine design.
Colorful Summer Bag
Try yellow, orange, green, pink and turquoise for a cheerful summer accessory.
Vintage-Inspired Bag
Use mustard yellow, dark green, rust and cream for a retro appearance.
Before starting, place your yarn colors together to see how they look as a combination.
Step 2: Crochet Your Granny Squares
Traditional granny squares are created using groups of double crochet stitches separated by chain spaces.
A classic granny square begins with a center ring. You then work groups of stitches into the ring and build additional rounds.
The corners are formed using chain spaces, which allow the square to grow evenly.
For a beginner, I recommend making a few practice squares before creating the complete bag.
Important: Use a consistent pattern and stitch count for every square. The squares should have matching dimensions so they are easier to assemble.
Step 3: Decide on Your Bag Layout
Once your granny squares are ready, arrange them on a flat surface.
This is the moment to experiment with different combinations.
You can:
- Arrange the same colors together.
- Alternate colorful and neutral squares.
- Create a symmetrical design.
- Use a single accent color for the entire bag.
Decide on the finished bag dimensions before joining the squares.
For example, a larger arrangement creates a spacious tote, while a smaller arrangement creates a compact everyday bag.
Step 4: Join Your Granny Squares
Joining the squares is an important step because it determines the final appearance of your bag.
There are several popular joining methods.
Slip Stitch Join
This method creates a visible crochet seam and is relatively simple to learn.
Single Crochet Join
A single crochet join produces a decorative raised seam.
Mattress Stitch
This sewing method can create a more subtle join when worked carefully.
Choose the method that matches your preferred appearance.
Before joining everything, check that all the squares are the same size and that their edges line up properly.
Step 5: Create the Bag Shape
After joining the granny squares, assemble the front, back and side sections according to your chosen design.
The bag can be constructed as a flat two-panel tote or as a more structured bag with separate side and bottom sections.
For a neat finish:
- Align the panels carefully.
- Join the side edges.
- Attach the bottom securely.
- Check that the corners are even.
- Weave in loose yarn ends.
The construction method you choose will determine the final dimensions and capacity of your tote bag.
Step 6: Crochet the Handles
You have two popular options for handles.
Crochet Handles
Create two crochet straps using a dense stitch pattern.
Make sure the straps are wide and strong enough for the intended use.
Ready-Made Handles
You can also use wooden, leather or other suitable bag handles.
These can give your granny square tote a more polished appearance.
Whichever option you choose, reinforce the attachment points carefully. Handles carry the weight of the bag, so they should not be attached using weak or decorative-only connections.
Step 7: Add a Fabric Lining
A fabric lining is optional, but it can make your crochet tote much more practical.
It helps prevent small objects from slipping through the stitches and can give the bag additional structure.
To add a lining:
- Measure the inside dimensions of your finished bag.
- Choose a suitable fabric.
- Cut the fabric according to the bag’s shape, allowing room for seams.
- Sew the fabric panels together.
- Attach the lining securely inside the bag.
You can also add a small pocket for your phone, keys or wallet.
Step 8: Add the Finishing Touches
Now it’s time to make your tote bag unique!
Consider adding:
- Small crochet flowers.
- Decorative buttons.
- A contrasting border.
- Tassels.
- A fabric label.
- A small inner pocket.
You can also add a handmade Loopberry label to give your finished accessory a professional touch.
Tips for Making a Beautiful Crochet Tote Bag
Here are some useful tips to help you achieve a better result:
1. Keep your tension consistent.
Consistent tension helps your granny squares maintain the same dimensions.
2. Choose suitable yarn.
Cotton yarn is a good option for a tote bag because it provides structure.
3. Check your squares before joining.
Uneven squares can make the finished bag look distorted.
4. Reinforce the handles.
The handle attachment points need extra attention.
5. Consider adding a lining.
A lining makes the bag more practical for everyday use.
6. Take your time with finishing.
Neatly woven ends and clean seams make a big difference.
How to Style Your Granny Square Tote Bag
A handmade crochet bag can complement many different outfits.
Here are a few ideas:
- Summer outfit: Pair a colorful granny square tote with a simple white dress.
- Casual look: Combine a neutral crochet bag with jeans and a basic T-shirt.
- Beach style: Choose bright colors and pair your tote with summer clothing.
- Vintage outfit: Use earthy colors with a retro-inspired outfit.
The possibilities are endless!
Frequently Asked Questions
Is a granny square tote bag suitable for beginners?
Yes! Beginners who understand basic crochet stitches can learn how to make granny squares and assemble them into a bag.
What is the best yarn for a granny square tote bag?
Cotton yarn is a popular choice because it offers structure, good stitch definition and a wide range of colors.
How many granny squares do I need?
The number depends on the dimensions of your squares and the construction of your bag. Plan the layout before beginning.
Can I make a granny square tote bag without lining?
Yes. A lining is optional, although it can improve the structure and prevent small objects from passing through the crochet fabric.
Can I sell my finished granny square tote bag?
Yes, you can sell your own finished handmade bags. If you’re following someone else’s pattern, check its licensing terms first.
Can I use different colors for every granny square?
Absolutely! Different color combinations are one of the best ways to personalize your bag.
Final Thoughts
Making a granny square tote bag is a wonderful way to combine creativity, traditional crochet techniques and everyday fashion.
From selecting your favorite yarn colors to assembling the squares and adding the handles, every step gives you an opportunity to personalize your project.
Whether you prefer a colorful summer tote or a simple neutral bag, you can create a handmade accessory that reflects your style.
If you enjoyed this project, explore more crochet accessories and beginner-friendly patterns here at Loopberry – Little Loops, Endless Creativity.
Want the complete printable pattern?
Add your own downloadable PDF product here, including:
- Exact yarn quantities and hook size.
- Granny square stitch counts and round-by-round instructions.
- Number and arrangement of squares.
- Bag dimensions.
- Joining diagrams.
- Handle construction instructions.
- Original step-by-step photographs.
This article is an introductory construction guide, not a fully tested stitch-by-stitch pattern. Complete and test the PDF before selling or advertising it as a complete pattern.